Remanufacturing the Konica Minolta 5430 Laser CartridgeThe AQC Group replacement toner for the KM5430 cartridge is a Polyester based toner. The original equipment manufacturer toner is produced from a Styrene Acrylate base.
During the first print cycle a ‘wall’ of contaminate/residue is built up on the surface of the developer roller, which can cause leaking effects during the second cycle using AQC Group UK replacement toner.
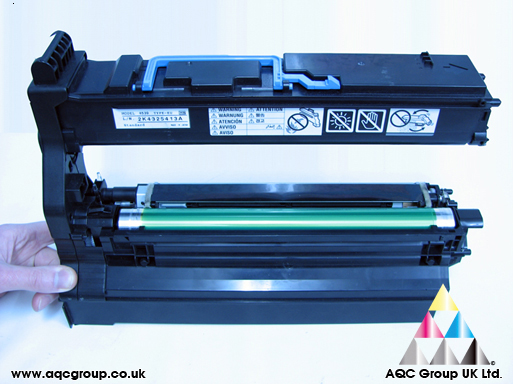
In order to achieve the best results possible from the AQC Group compatible replacement toner, it is essential we remove the cartridge developer roller and clean it with Isoprpanol Alcohol to remove any build up of additives and contaminates from the surface of the roller.
The information below shows how to access the developer roller section and remove the roller for cleaning, however we would advise you use this information as a guide only and make practise yourself.
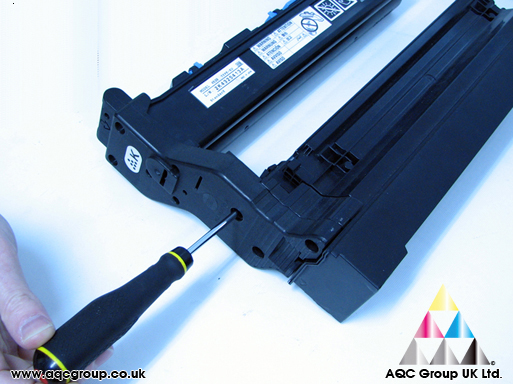
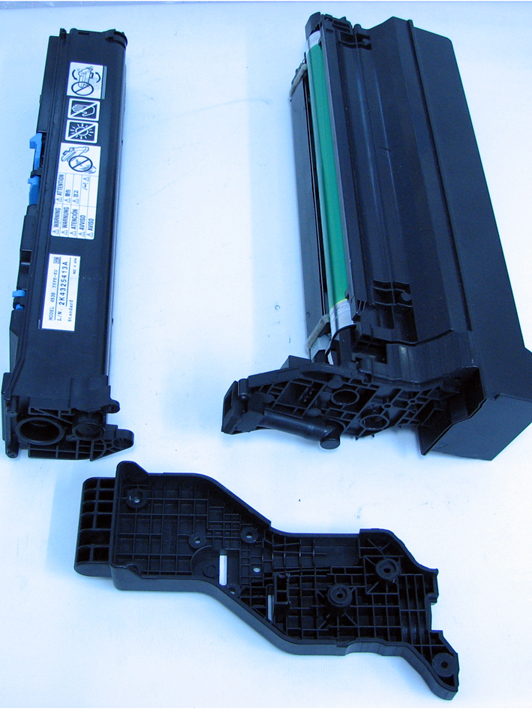
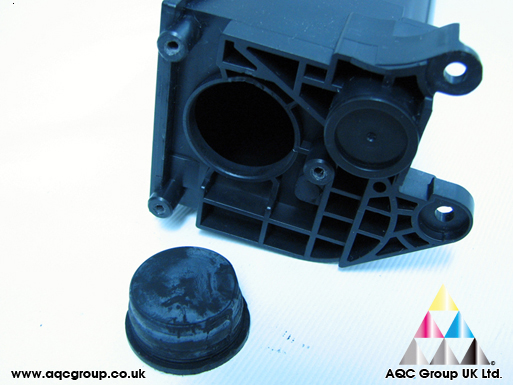
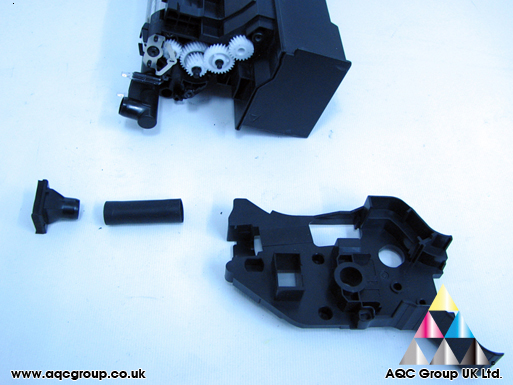
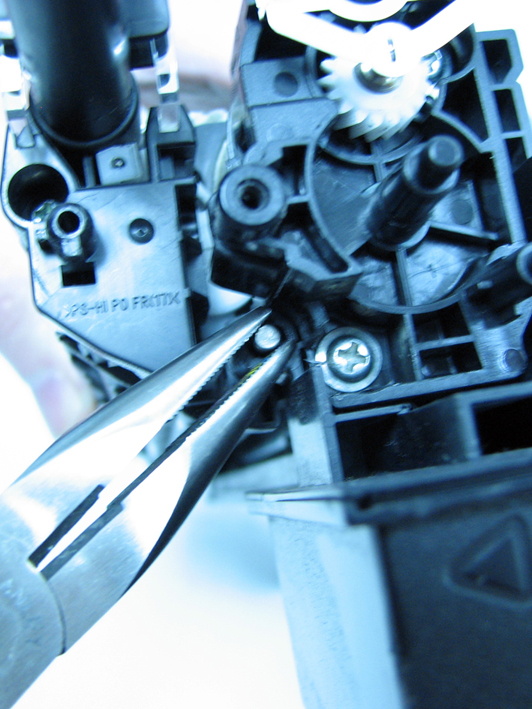
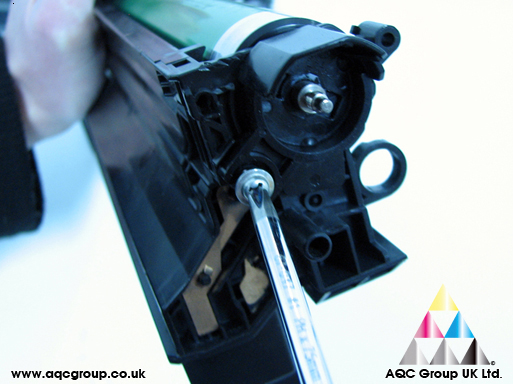
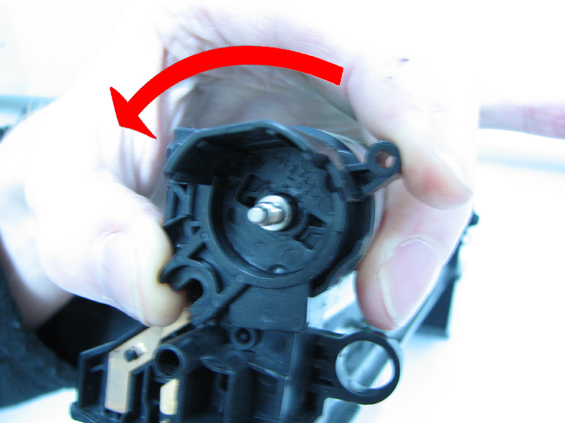
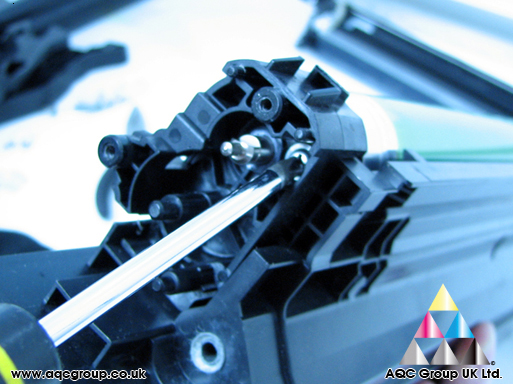
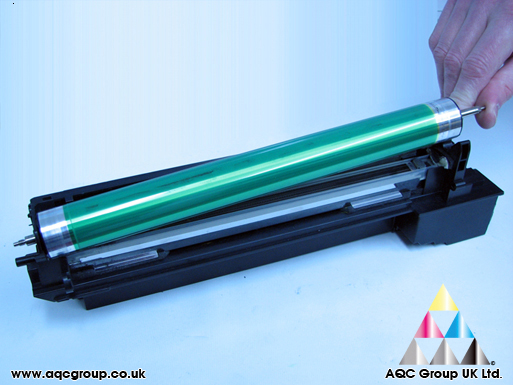
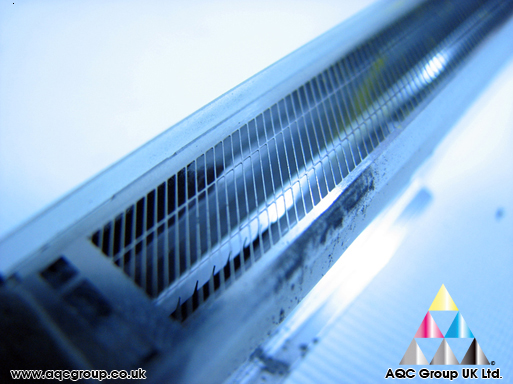
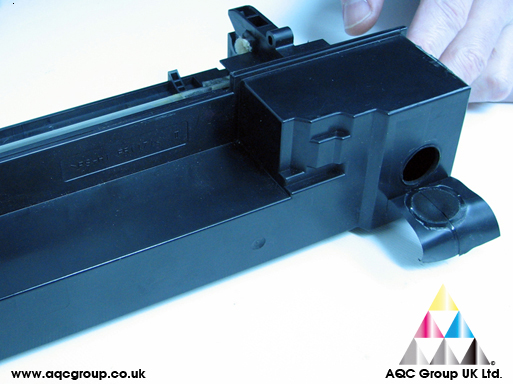
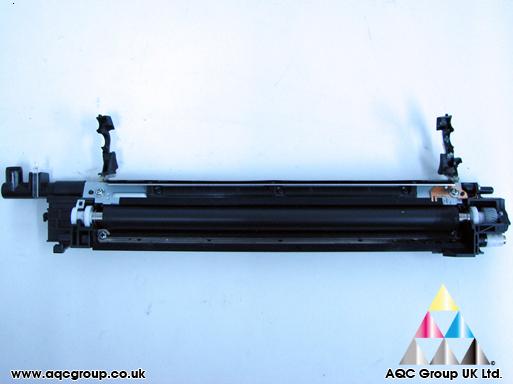
Step 1 – Separate the Hopper unit from the OPC Drum unitRemove the 8 screws from the Back Plate, this separates the two parts of the cartridge.Step 2 – Hopper refill pointThe easiest way to refill the Hopper unit is to remove the bung and refill through the hole provided.Step 3 – OPC Drum unit & Toner Delivery sectiona. Remove the gear cover and toner feeding tubeb. Remove the springc. Remove the screwd. On the opposite side of the cartridge remove the holding pinStep 4 – The OPC Drum unita. The OPC Drum is held in place at one end by an ‘end cap & screw’ – remove the screwb. Twist the end cap anti-clockwise and removec. From the other end of the OPC drum unit – remove the gears, end plate and screwsd. This allows us to remove the OPC drume. The OPC drum is charged using a traditional corona wire assembly – it’s common to see some ‘dusting’ of the surface around the corona wire, we advise this dusting of toner is removed to allow for correct charging of the wire and opc drum.f. Finally – the waste toner is stored in the lower casing of the drum unit, as an example we show a quick solution to removing the waste toner.Step 5 – The Developer roller sectionAs previously described, in order to achieve the best results possible with AQC Group replacement toners, it is necessary to remove and surface contaminate from the developer roller, in order to minimise the print image defects generated from this section of cartridge.
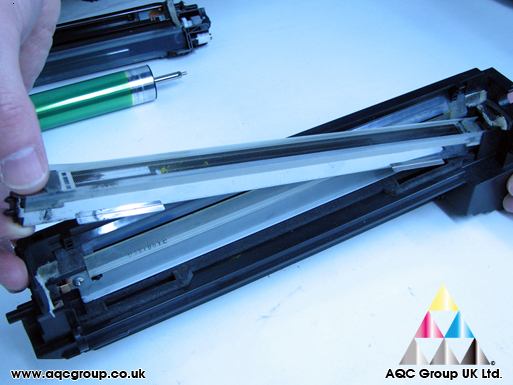
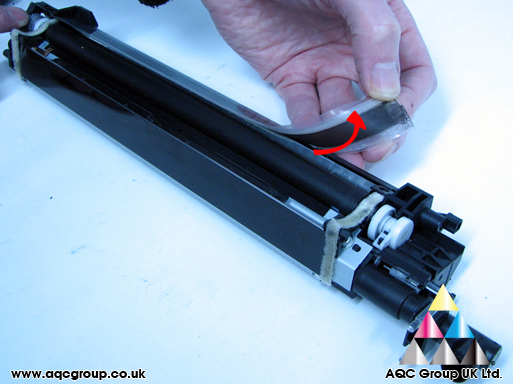
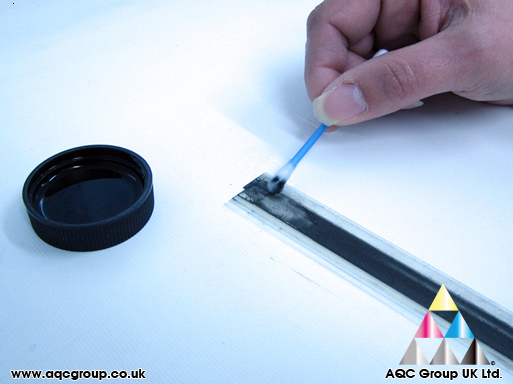
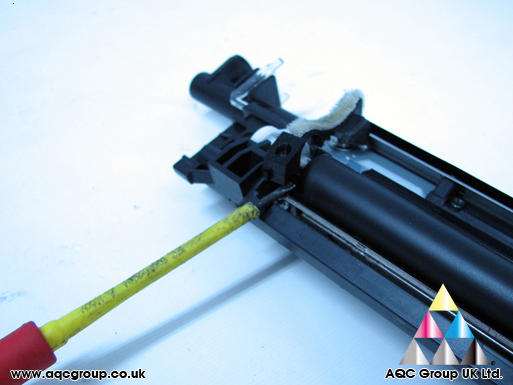
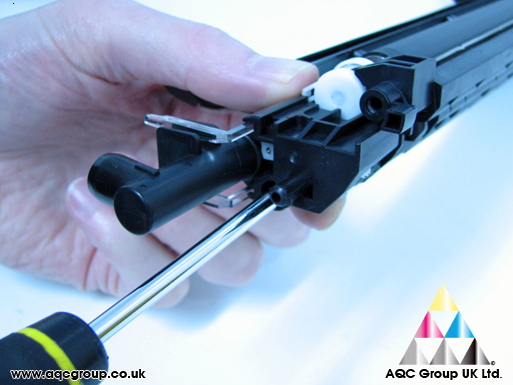
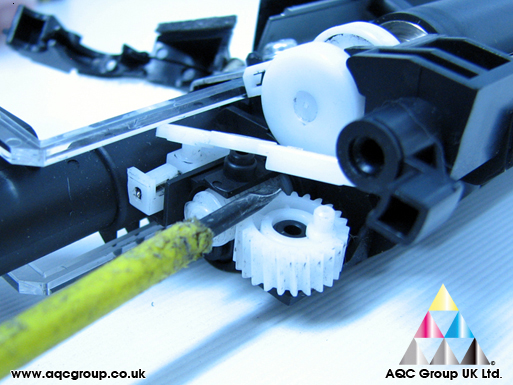
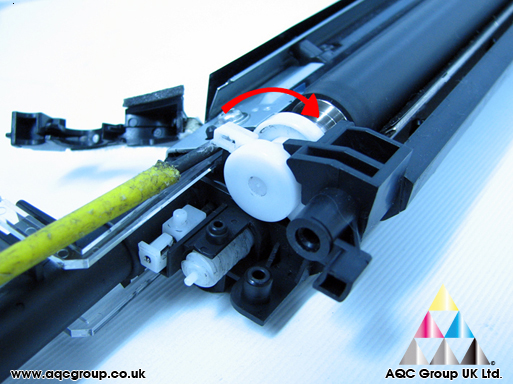
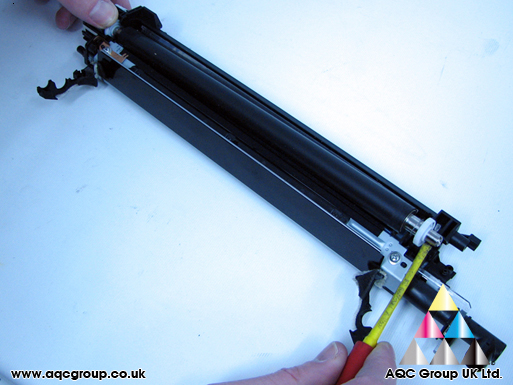
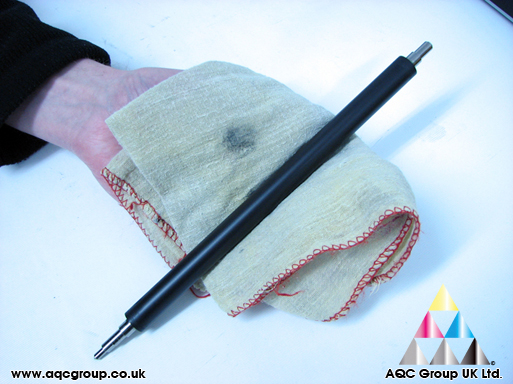
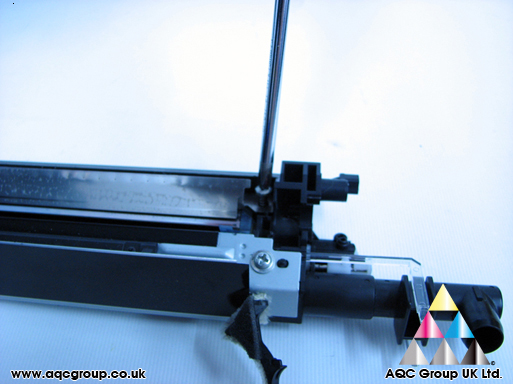
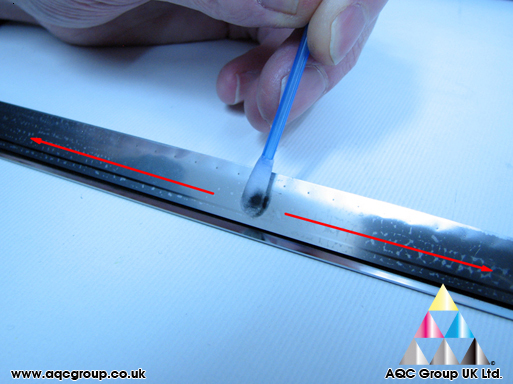
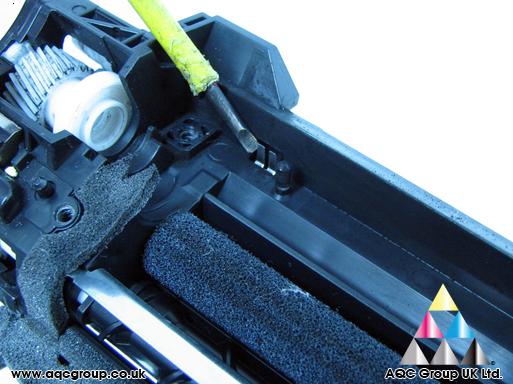
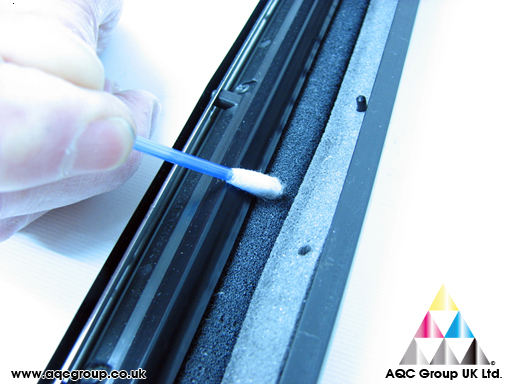
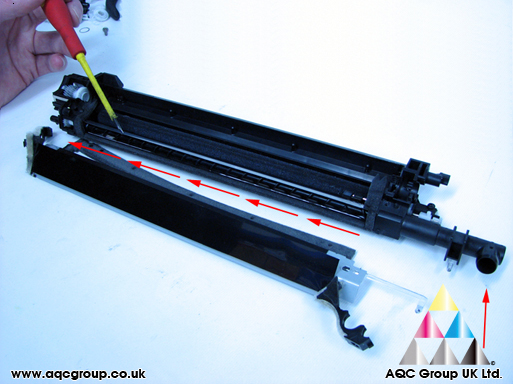
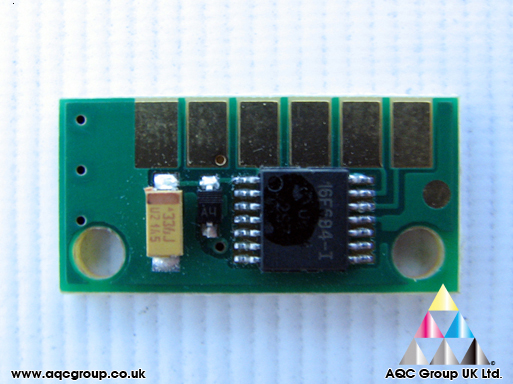
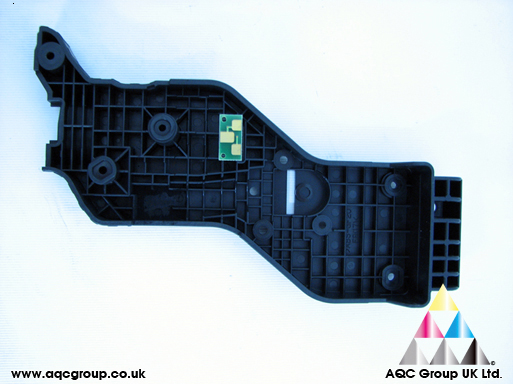
a. Remove the cover strip – this can be peeled back. We can use Ispropanol Alcohol to clean and revitalise the glue areas of the strip so it can be replaced later.b. The two felt covers from either side of the developer roller can be lifted out of position using a small flat blade screwdriver.c. Remove a small screw situated inset into the unit close to the toner feed in.d. With the cover removed this reveals a gear and white cover – remove both of thesee. Remove the developer roller holding capf. We can now remove the developer roller – as shown in the below picture, the roller can be lifted from right to left at the same time grip the gears and wheel on the left hand side and lift away the developer roller leaving the gears in place.g. Clean the developer roller with Isopropanol Alcohol, wash with clean water and allow to dryh. The Doctor-Blade can also be contaminated during the first cycle and it is advisable we clean this during the remanufacturing process. The blade is held in place by two screws, remove the screws and gently lift out the blade.i. The doctor-blade can easily be damaged by cleaning, we advise the safest way to clean the blade is to use a Q-Tip and clean from the centre of the blade out, trying to avoid catching the ends of the blade.j. The electrical contact points for the doctor-blade can also be damaged when replacing the blade, care must be taken not to bend/buckle the contact points.k. In the KM5430 cartridge is a charging strip for the developer roller, we advise this is wiped clean using a Q-Tip.l. We have received complaints from customers who have said after rebuilding the cartridge – the print images have toner only down one side or nothing at all. This is due to the way the toner is moved around the cartridge by means of Archimedes Screw. The below diagrams shows the movement of toner through the developer roller section, through the Adder roller where it meets the developer roller. Continuous printing will feed the toner to the correct parts of the cartridge.Step 6 – The ChipFinally we need to replace the original cartridge chip which is located on the back plate of the cartridge. AQC Group UK provides compatible replacement chips.
AQC Group providee compatible replacement Konica Minolta 5430 toner and chip combination - please contact us for further information.
 Download this full remanufacturing Guide: HERE