Remanufacturing Samsung ML-1640 / ML-2240Cartridge Yield: 1500 Pages
Speed (Mono): Up to 22ppm in A4 (23ppm in Letter)
First Print Out Time (Mono): Less than 10 seconds (From Ready Mode)
Resolution: Up to 1,200 x 600dpi effective output
Emulation: SPL (SAMSUNG Printer Language
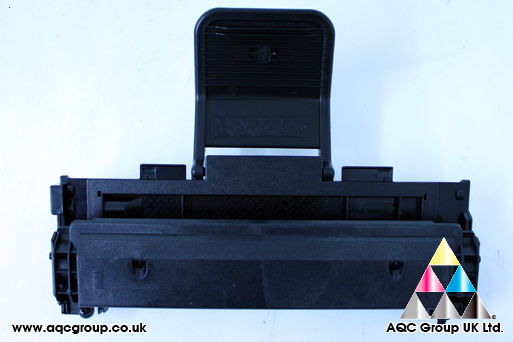
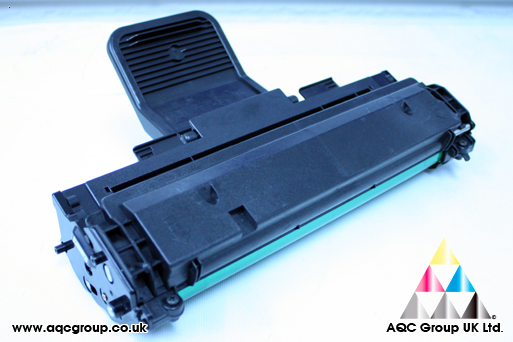
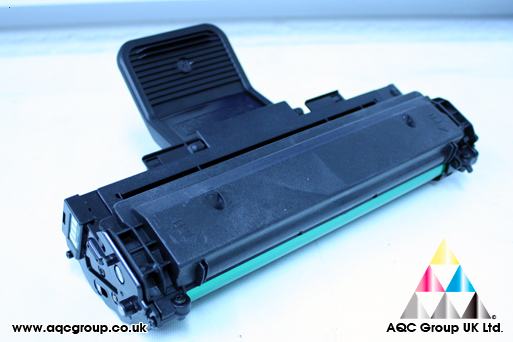
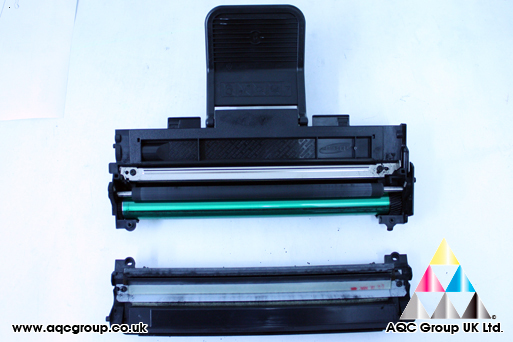
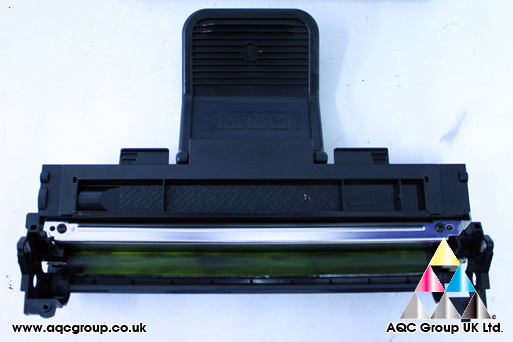
Different cartridges. The Samsung ML-2240 ships with a starter cartridge, this is different to the actual full life replacement cartridge.
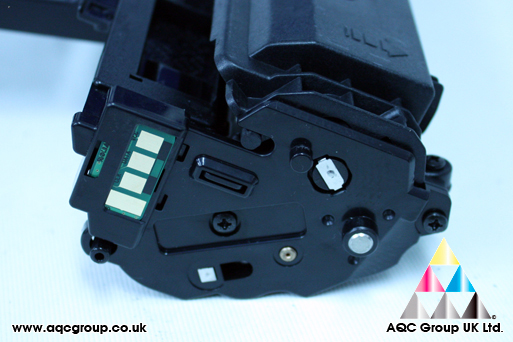
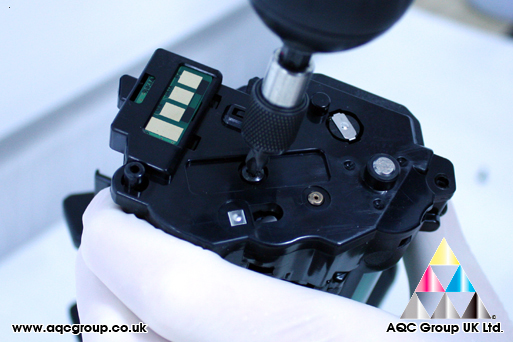
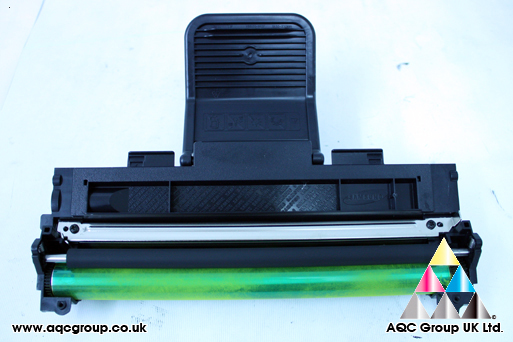
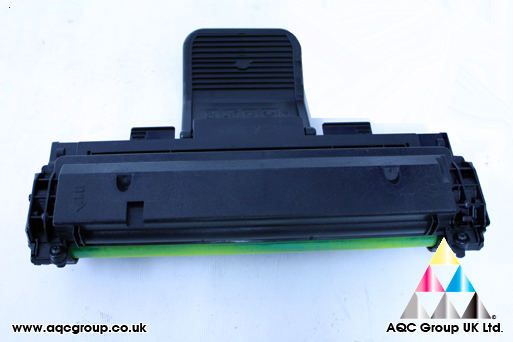
The two below pictures show the starter cartridge and full life replacement
Starter Cartridge
Full Life Cartridge
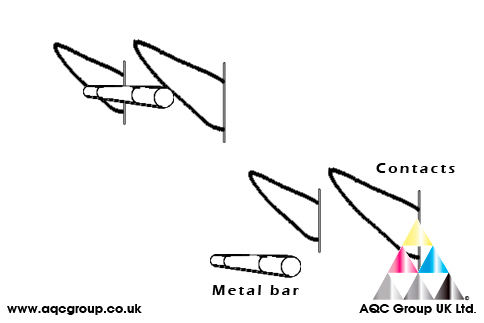
You can clearly see the full life cartridge uses a CHIP (visible on the left hand side). This is used to reset the printer. This is new from Samsung, normally this type of cartridge uses a fast blow (63mA) glass type FUSE to reset the machine. Instead the starter cartridge ships with a metal bar.
Don’t be fooled! The metal bar is only used to complete the circuit for the initial starter unit, once toner low or predetermined page count is achieved the printer will refuse all print requests.
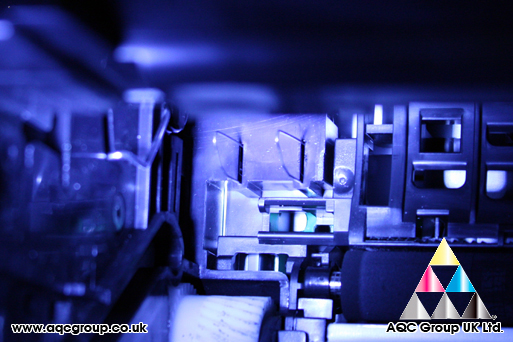
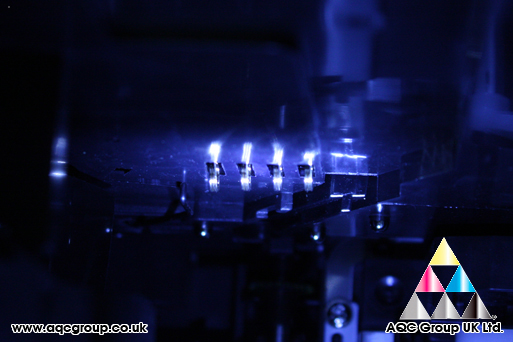
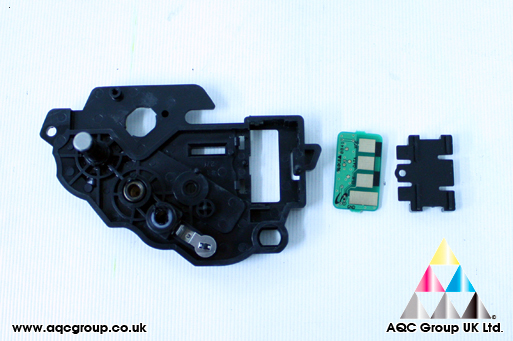
The actual re-setting of the Samsung ML-2240 is made by the new chip section of the cartridge – the CHIP marries four contact points inside the printer. The printer then accepts new print requests.
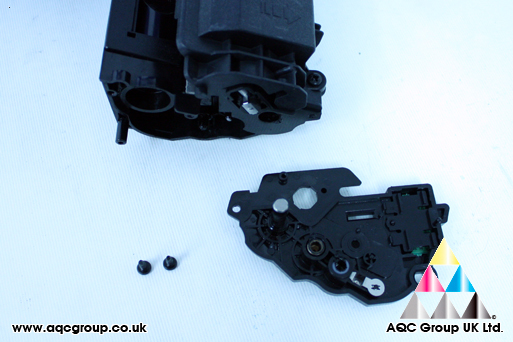
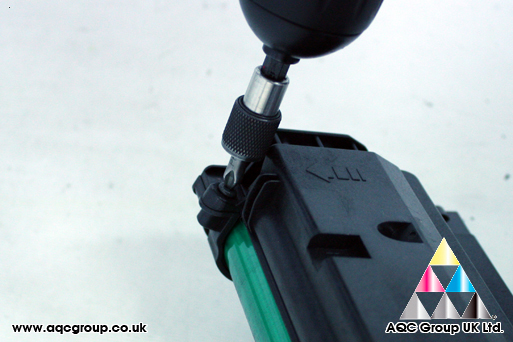
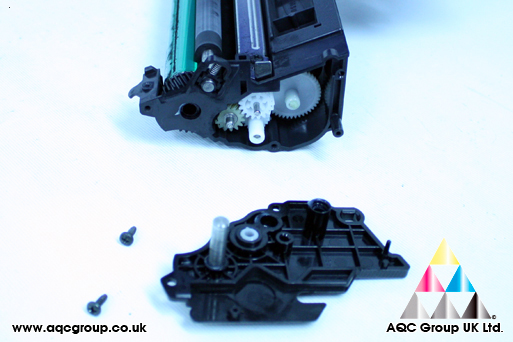
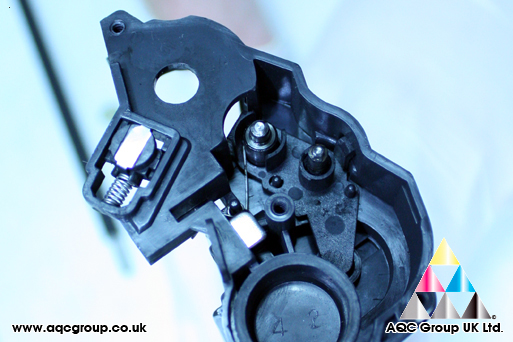
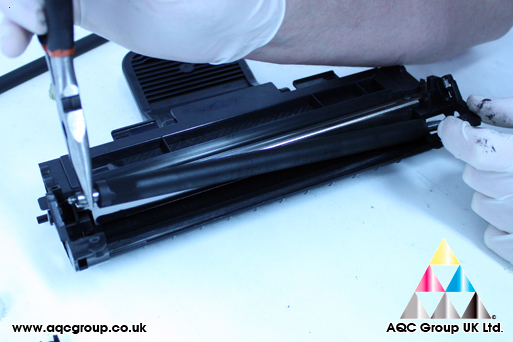
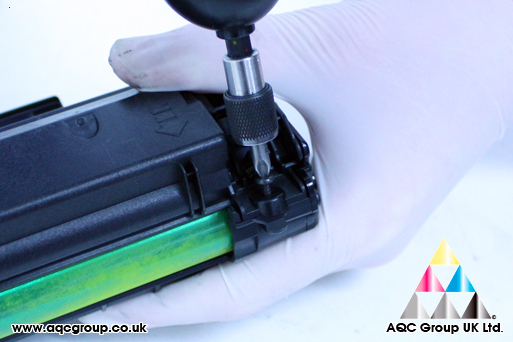
Step 1 – Remove the two screws from the chip side of the cartridge
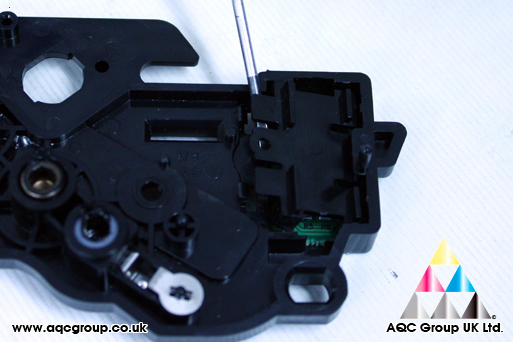
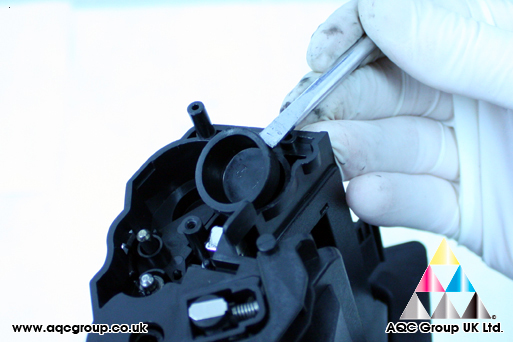
Step 2 – Using a small flat-blade screwdriver lift out the plastic cover holding the chip in place.
Step 3 – Remove the two screws to the OPC Drum/Waste section
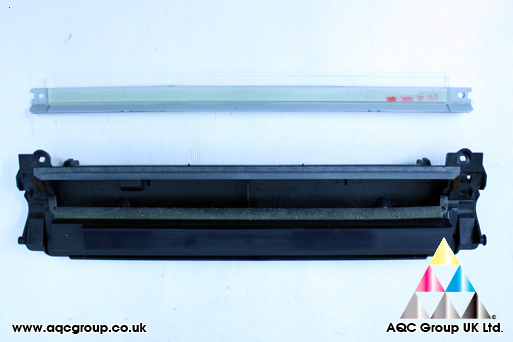
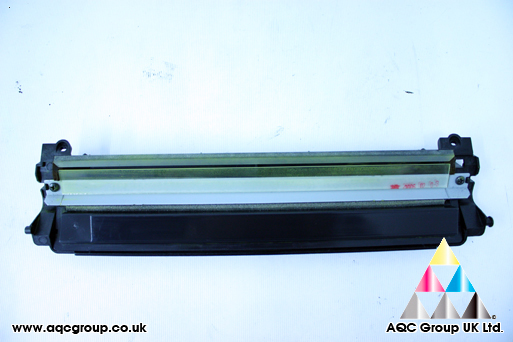
Step 4 – Remove the two screws holding the wiper-blade in place
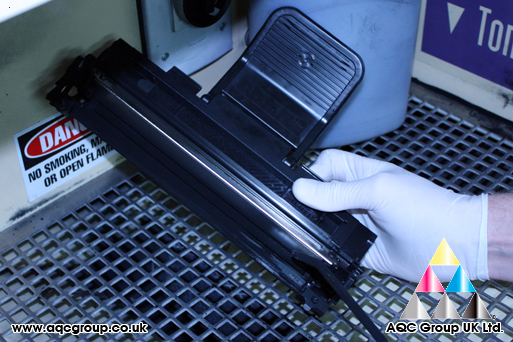
Step 5 – Remove the other end plate from the cartridge
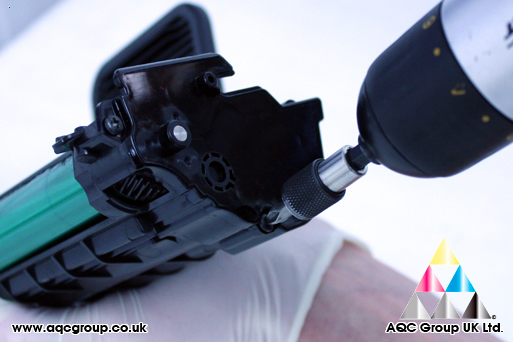
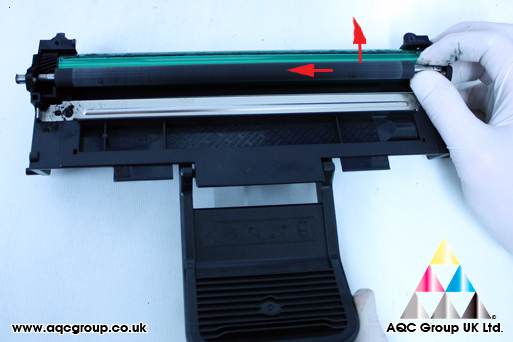
Step 6 – Push the PCR roller towards the left hand side of the cartridge and slide out, this allows the OPC to be removed.
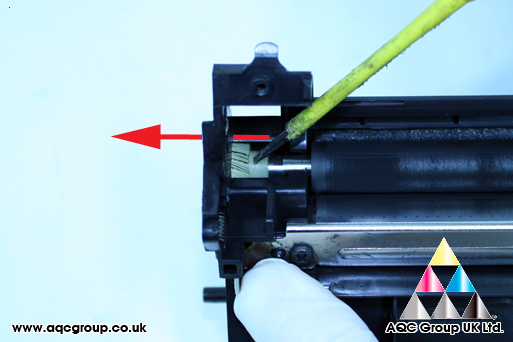
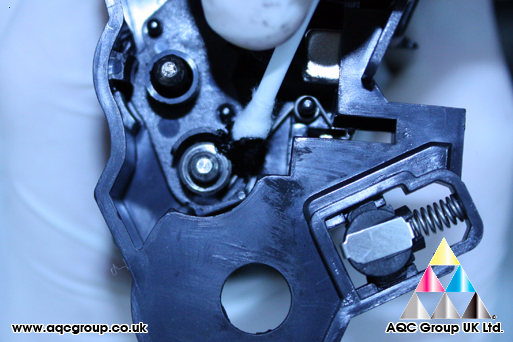
Step 7 – To remove the developer roller push the small gear out with a screwdriver.
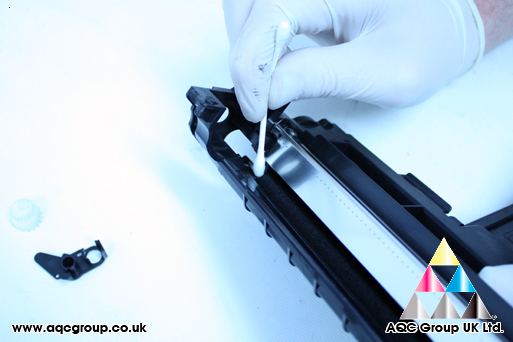
Step 8 – There is a small spring which makes contact with both the DVR & Doctor-blade, it’s important to check the contact points.
Step 9 – Remove the small plastic fitting which secures the DVR in place and remove the DVR roller
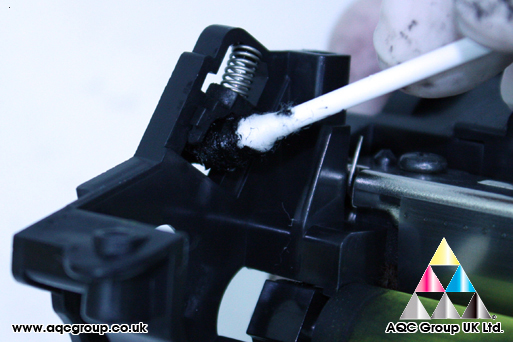
Step 10 – Remove all existing toner from the hopper unit, clean end felts and doctor-blade.
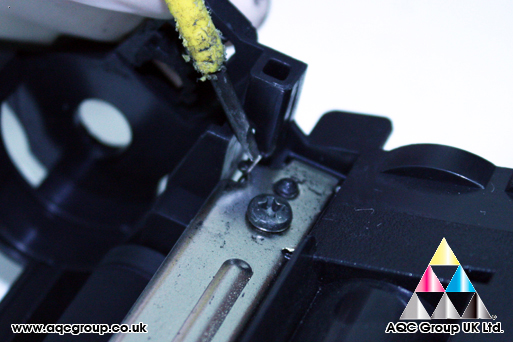
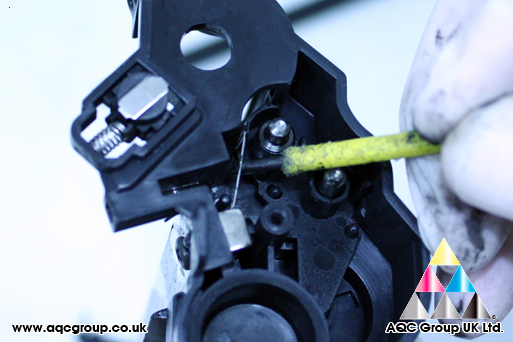
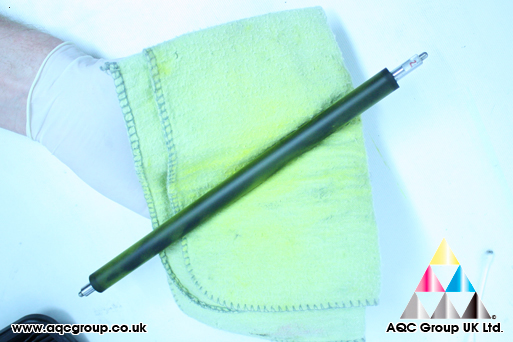
Step 11 – I always lubricate DVR rollers, OPC drums, Wiper-Blades etc... with YELLOW Toner (Chemical) to make sure nothing sticks or flips.
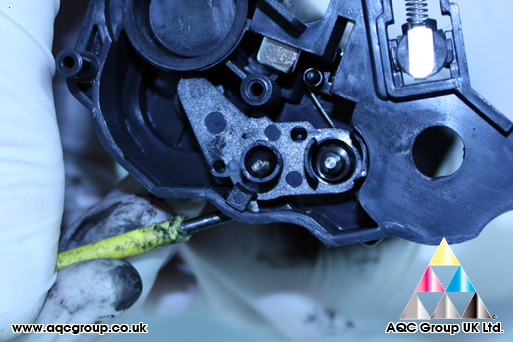
Step 12 – I always re-grease contact points of the cartridge, obviously it’s important to make a good connection.
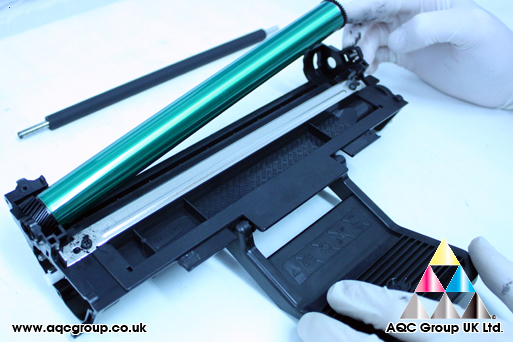
Step 13 – reattach the OPC unit to the Toner hopper.
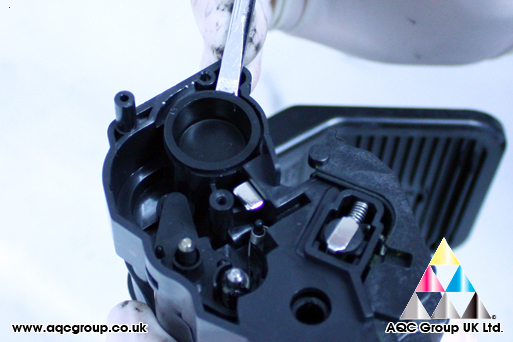
Step 14 – Remove the bung from the hopper – this can be a little tricky, but with some perseverance it will come out.
Step 15 – Refill with AQC Group UK compatible replacement ML-2240 toner