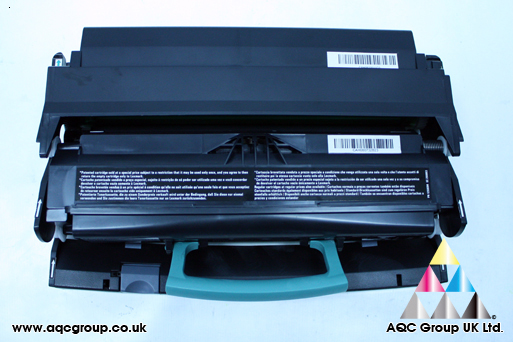
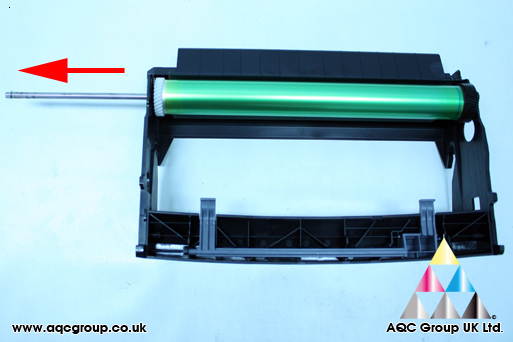
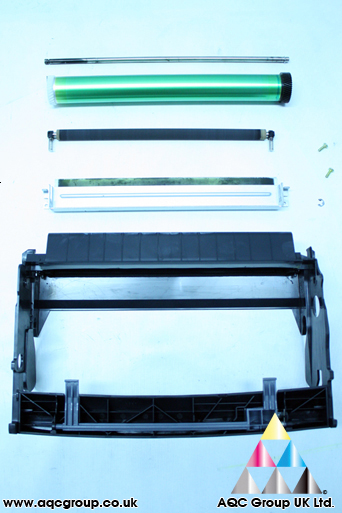
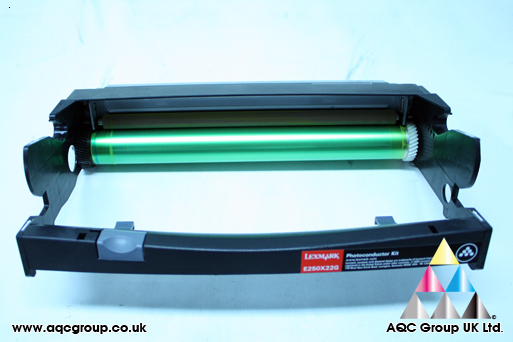
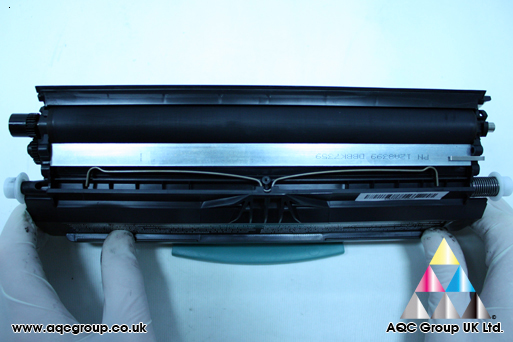
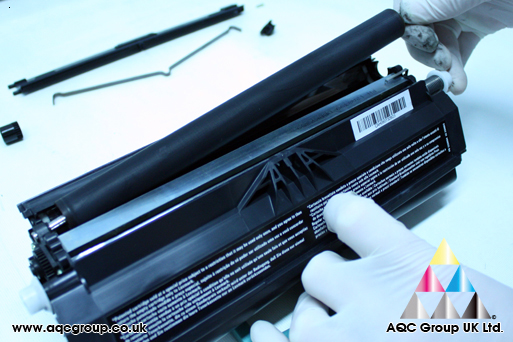
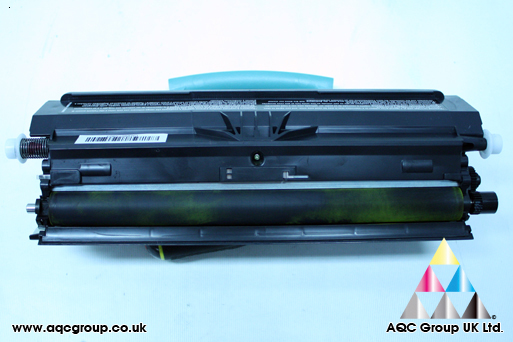
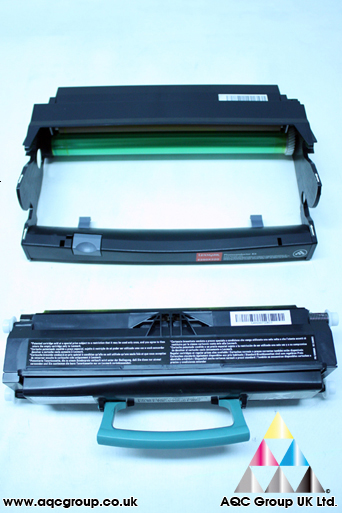
Remanufacturing the Lexmark E350d Cartridge (E250, E350, E352, E450) and OPC Drum UnitRemanufacturing and cleaning the OPC drum Unit1. Remove the ‘C’ Clip from the cartridge unit
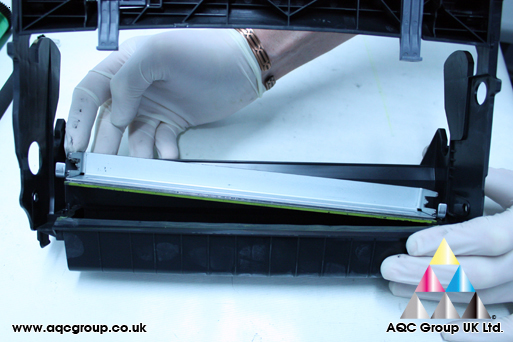
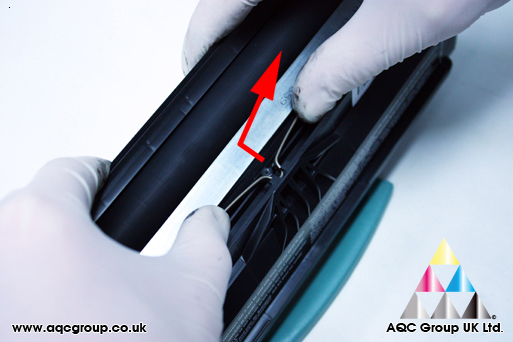
2. Gently remove the contact bar from the centre of the OPC drum
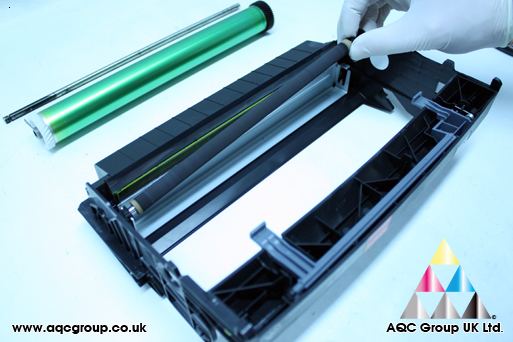
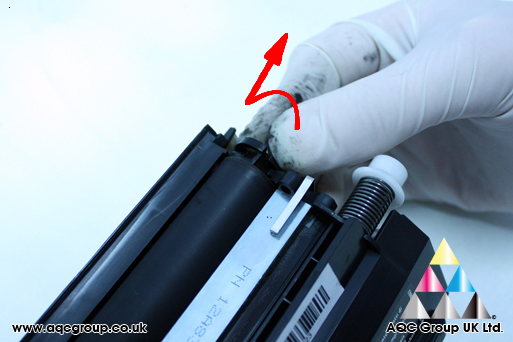
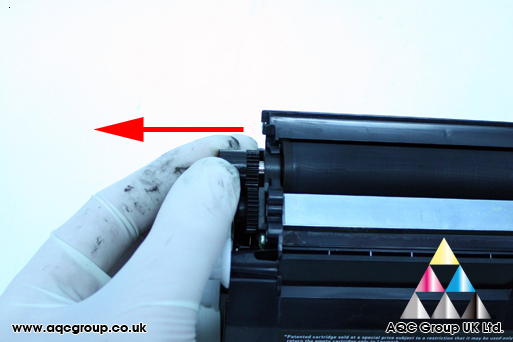
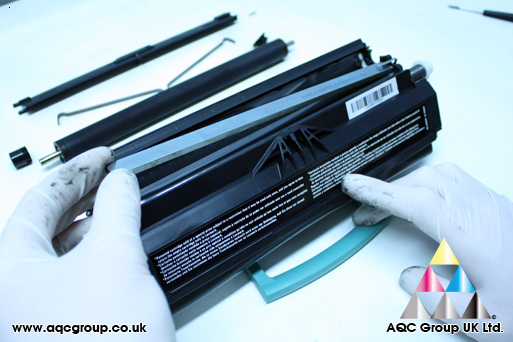
3. Remove the PCR & contact points from the Wiper-Blade
4. Remove the two screws holding the Wiper-Blade in place
5. Lift away the Wiper-Blade
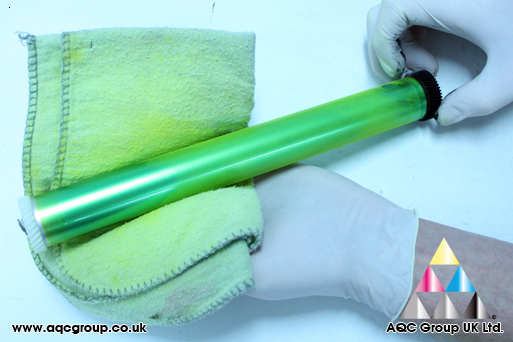
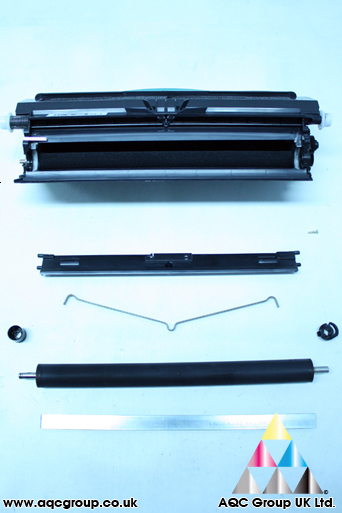
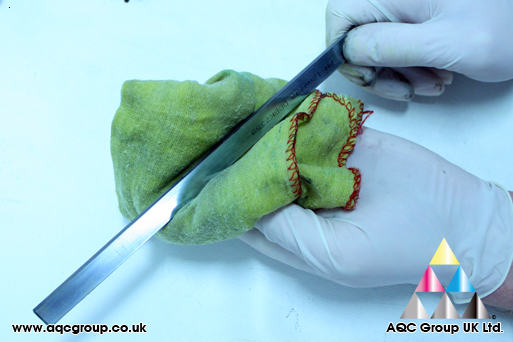
6. Clean components; during testing we cleaned the Wiper-Blade & PCR with soft damp cotton cloth. We used dry cotton cloth for wiping the surface of the OPC drum unit.
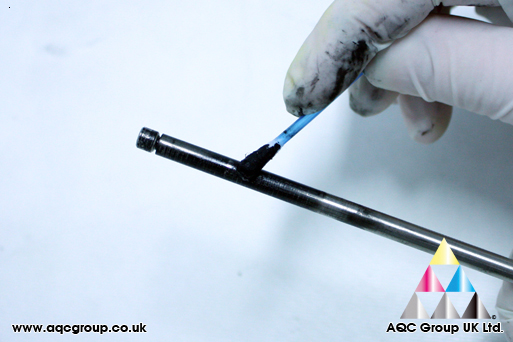
7. Use AQC Group Yellow Chemical Toner as your drum padding powder of choice
8. Use AQC Group contact grease for the OPC drum contact points
Completed:
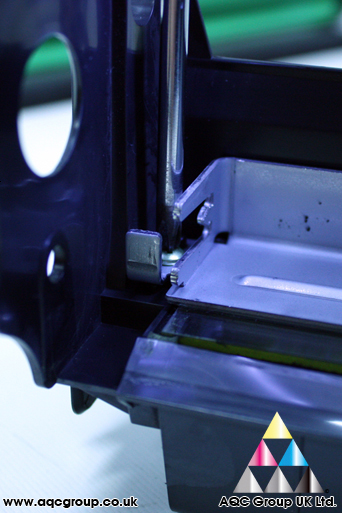
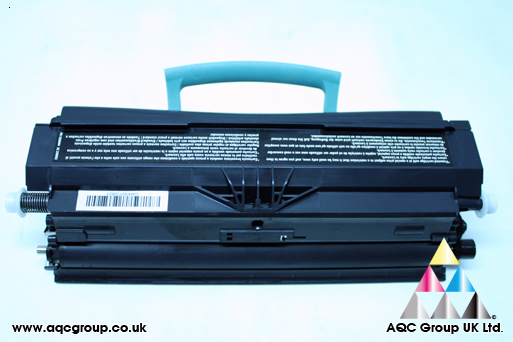
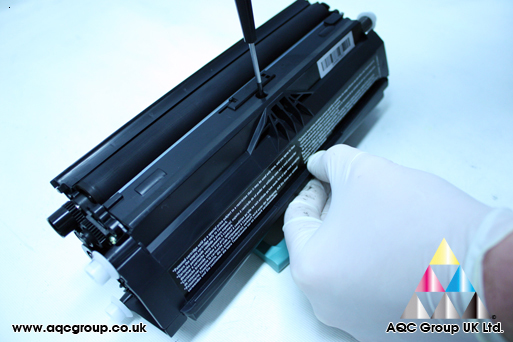
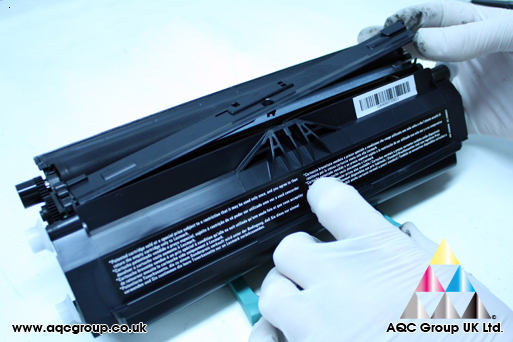
Remanufacturing the Lexmark E350d Toner Cartridge1. Using small screwdriver remove the centre screw
2. Gently lift out the plastic cover – revealing the Doctor Blade and contact point
3. The Doctor Blade is ‘Spring’ loaded in place, care must be taken to remove this from the cartridge. Avoid releasing the tension bar too early as it will jump across and damage the DVR
4. To the right hand side of the cartridge, turn the plastic retainer ANTI-CLOCKWISE
5. To the left hand side of the cartridge – pull away the small plastic gear
6. Lift out the DVR
7. Lift out the Doctor Blade
8. Clean the components. During testing we cleaned:
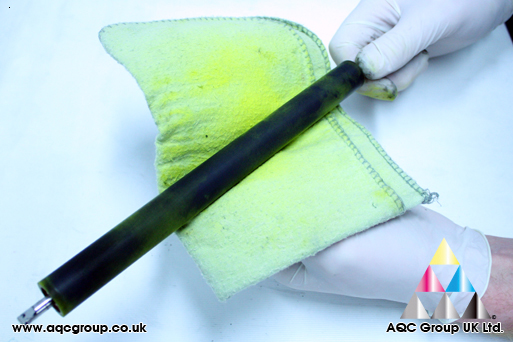
• DVR with Iso-Pro Alcohol.
• We cleaned the Doctor Blade with damp cotton cloth (damp with water)
• We cleaned the Toner hopper unit with compressed air
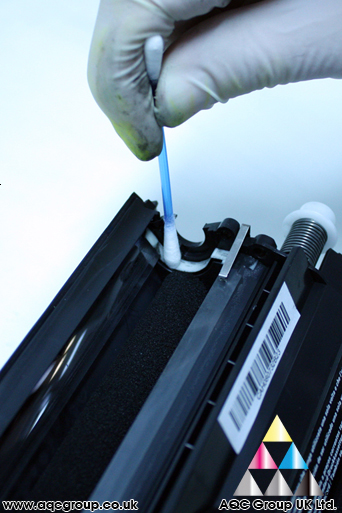
• We cleaned the DVR ends with Q-Tip and water
9. Once the DVR has been cleaned, use AQC Group Yellow chemical toner as a padding powder
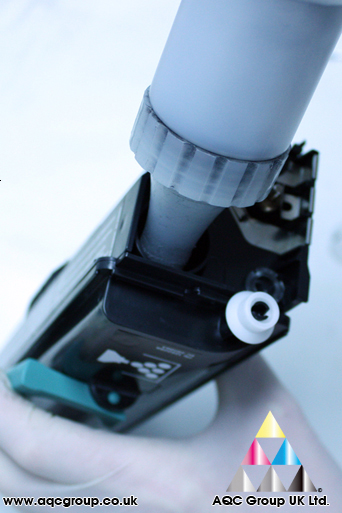
10. Remove the cartridge bung – it’s in two parts – first remove centre section to reveal secondary outer part.
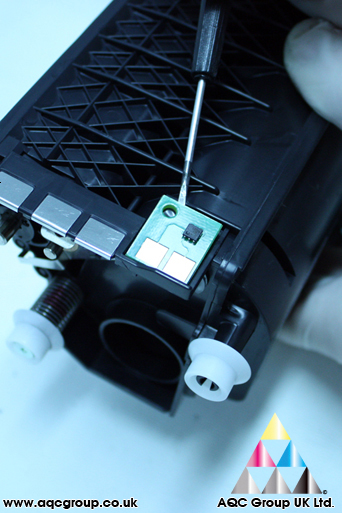
11. Prise off the old chip and use compatible replacement chip – call AQC Group for information
12. Refill cartridge with AQC Group compatible replacement toner
Completed