Here we describe in detail how to reverse engineer the Lexmark C522 Cartridge.
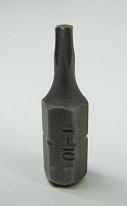
Tools required: • 1 x T-10 Torx (Star Shape) screwdriver • 1 x Philips screwdriver • 1 x Flat blade screwdriver • Isopropanol
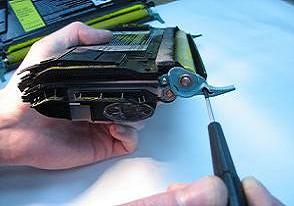
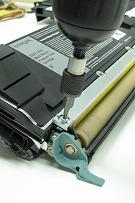
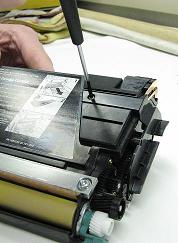
Step 1.
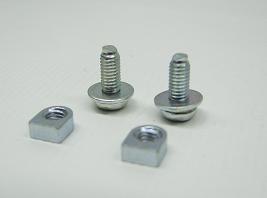
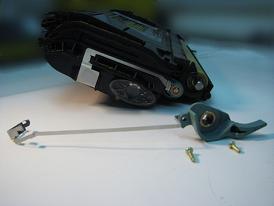
Using a T-10 Torx screwdriver remove the two screws either side of the doctor blade. Using a Philips screwdriver remove the two screws and washers from the centre of the doctor blade.
Note: The two Torx screws are held in place by bolts located underneath the doctor blade.
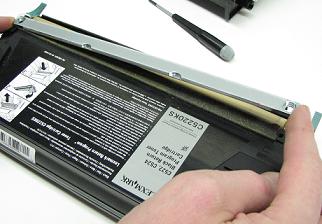
Step 2
Remove the top metal strip from the cartridge. Lift out the doctor blade.
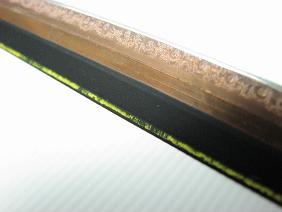
Step 3
The doctor blade needs to be cleaned, but care should be taken not to damage the surface of the blade. Some OEM Toner contaminate can adhere to the surface of the blade, use AQC Group DE-OX cream to gently removed the residue.
After cleaning it is essential the doctor blade is washed in clear water to remove any cleaning agents.
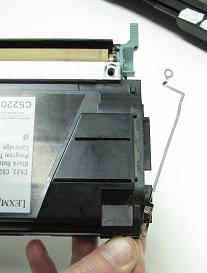
Step 4
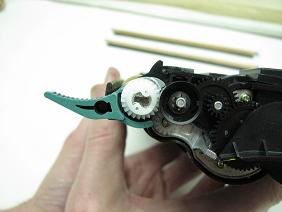
Remove the two screws holding the blue cartridge handle in place on the non-geared side of the cartridge. Note: the bottom screw is longer than the top screw. The metal contact strip and blue handle can be removed from the hopper unit.
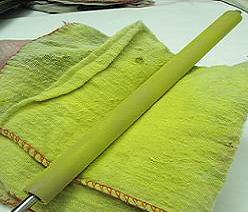
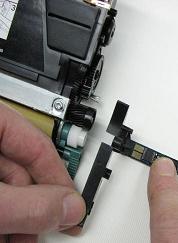
Step 5
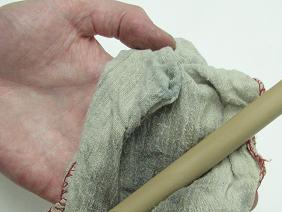
To remove the developer roller – this can be twisted and pulled out from the white gear side of the cartridge. A demonstration of this is available from the AQC Group YouTube channel:
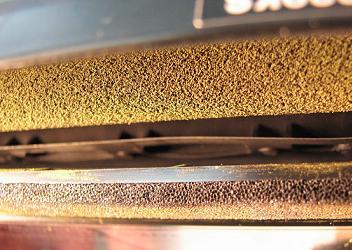
Once the Developer roller is removed from the cartridge, it needs to be cleaned.
AQC Group used Isopropanol Alcohol to clean the developer roller, although there are a number of roller cleaning agents available.
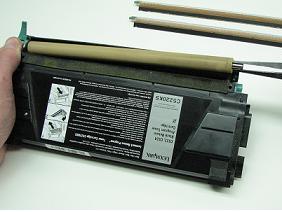
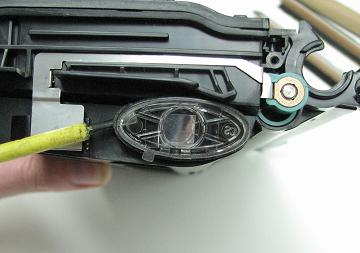
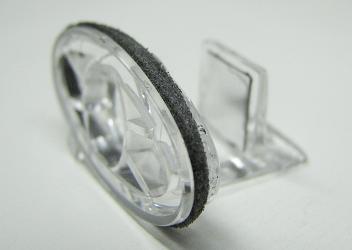
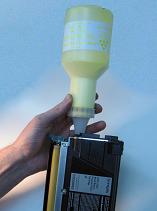
Step 6
The cartridge can be filled from two places, either directly in through the developer roller area, or in through the toner low sensor hole. The toner low sensor is located on the side of the cartridge, and care must be taken to remove it. Firstly, the front toner hopper paddle must be placed in the correct position in order to remove the sensor. Once the paddle is in position, use a small flat blade screwdriver to lever out the sensor, this can be done from either inside the hopper, or from the outside. The sensor is very brittle and can easily be chipped.
Step 7
Replace the cleaned components rebuilding the cartridge. It is advisable both the doctor blade and developer roller are lightly dusted with toner prior to being replaced, to help lubrication when the cartridge is reused. Refill the cartridge with AQC Group Exclusive compatible replacement Lexmark C522 toner.
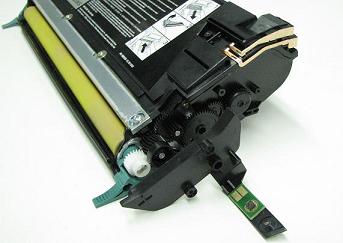
Step 8
The Lexmark cartridge uses a chip. To replace the cartridge chip remove the three screws located beside the cartridge gears.
Replace the old OEM chip with AQC Group Patent Free replacement cartridge chip.