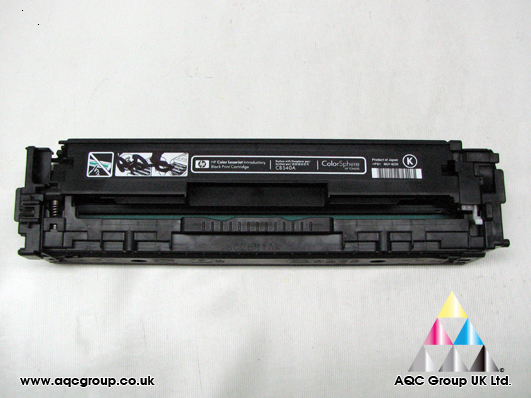
Remanufacturing the LJ CP1215 CartridgeSpecifications for the Colour LaserJet CP1215:
• 8ppm Colour
• 12ppm Black
• 25000 monthly duty cycle
• 1400 pages CYM cartridge (at 5%)
• 2200 pages K cartridge (at 5%)
• USB
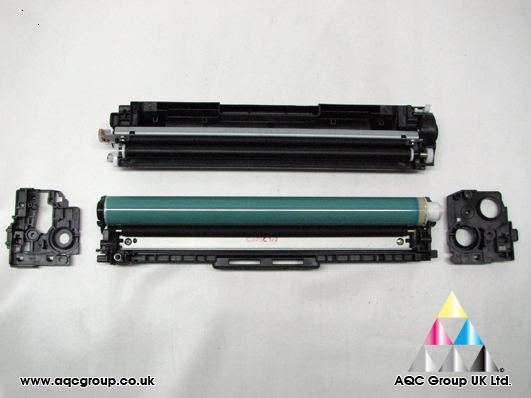
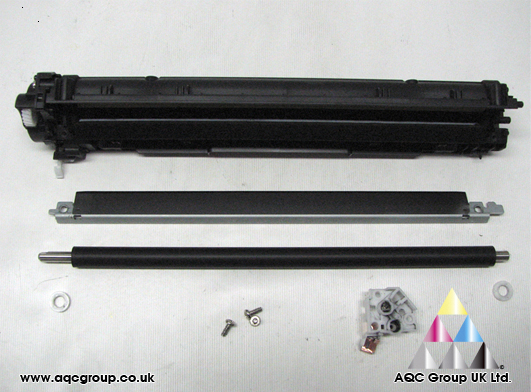
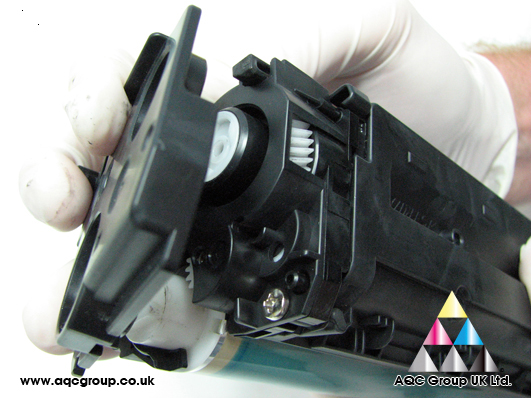
Reverse engineering the cartridge:1. Remove the four screws holding the two end plates
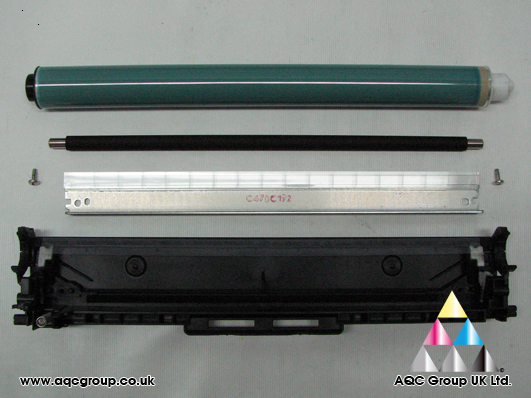
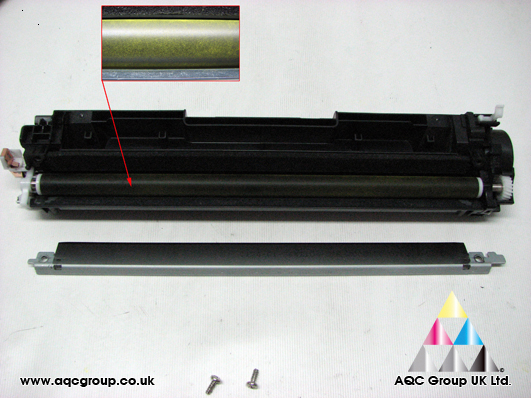
2. Lift out the OPC drum, carefully remove PCR roller, remove the two screws holding the wiper-blade.
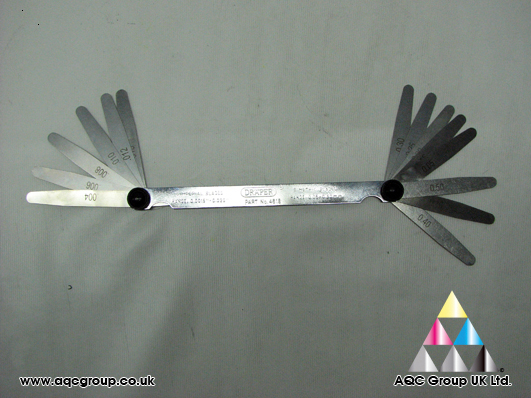
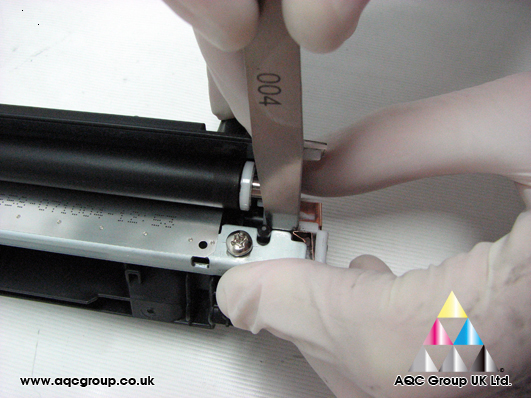
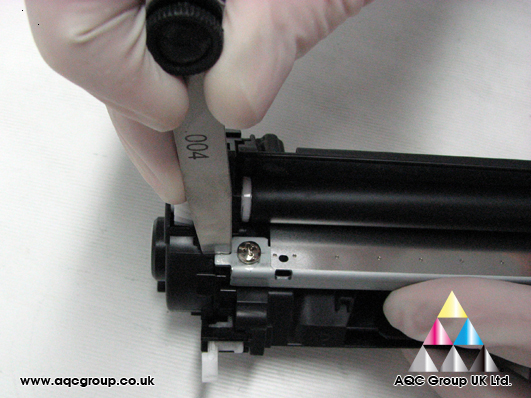
3. A Feeler Gauge is required
4. Make a record to the gap on both edges of the doctor-blade before removing the blade.
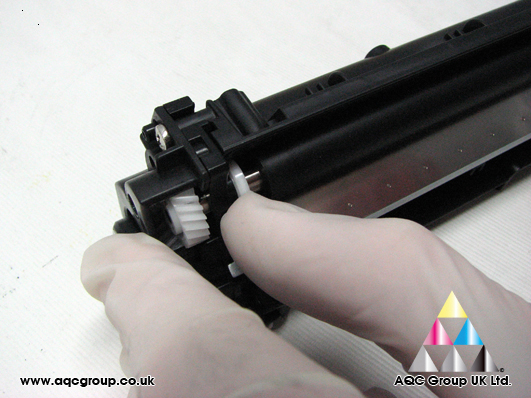
5. Remove the white plastic contact end plate from the cartridge – lift out the DVR roller. (hold the white gear spacer in place while removing the DVR roller, as scratching on the doctor-blade can occur).
6. The DVR roller can be cleaned with ISOPRO-Alcohol, we cleaned the doctor-blade with a damp (with water) cotton cloth. Remove any residual OEM toner from the hopper unit before refilling with AQC Group compatible replacement toner.
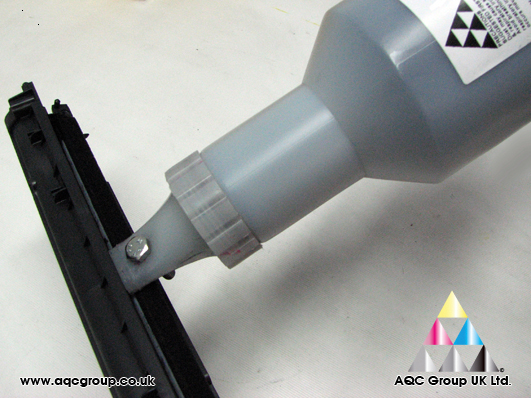
7. Refill with AQC Group (CPT) compatible replacement toner.
8. Replace the DVR roller (lightly coat the DVR surface with Yellow toner to act as a padding powder)
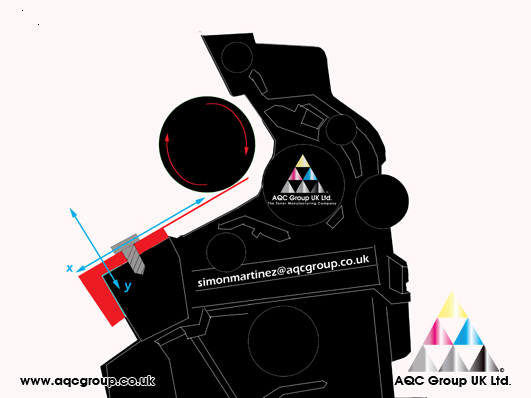
9. Replace the doctor-blade, the correct replacement of this blade is the most critical aspect of remanufacturing the CP1215 cartridge, as described below:
• X is forwards and backward position of the doctor-blade
• Y is the up and down position of the doctor-blade
• The angle the doctor-blade position is unique to this cartridge
a. Altering the positioning of X can make a significant change to the cartridge consumption, print image density and colour.
b. Altering the torque of Y in conjunction with the position of X can also change the cartridge consumption, print image density and colour.
c. For best results AQC Group Toner needs similar settings to that of the OEM – with a Feeler Gauge setting of 1.3mm
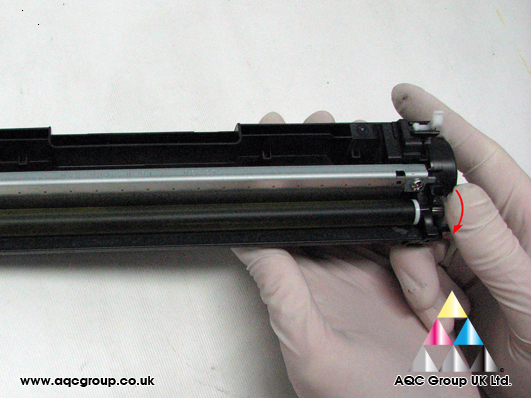
10. Replace DVR into place (spin the DVR against the doctor-blade to check for any blemishes)
11. Replace the end caps
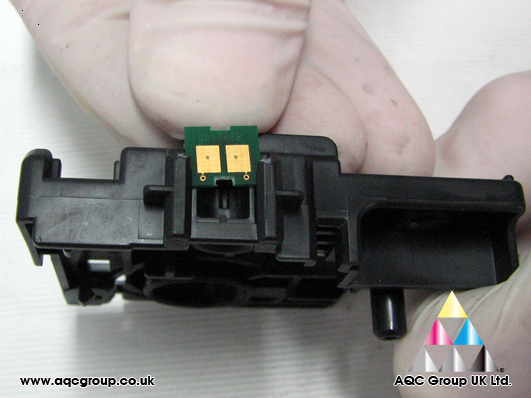
12. Replace cartridge chip
*Note: incompatible or used cartridge Chips are known to cause print image defects, seen during composite printing. Make sure you only use proven quality replacement chips, please call AQC Group UK for further information.
Download this remanufacturing guide
HERE