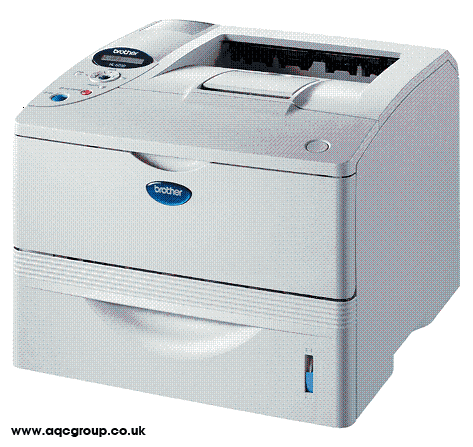
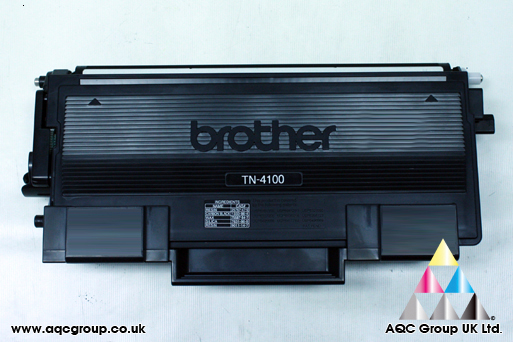
Remanufacturing the Brother HL-6050 Toner Cartridge and OPC Drum UnitSpecification• Up to 24ppm monochrome printing speed
• First print in under 11 seconds
• Up to 1200 x 1200 dpi, 600 dpi, 300 dpi print resolution
• Full speed USB 2 connection
• Up to 500 sheet paper capacity
• Up to 250 sheet output tray
• GDI emulation
• 32 MB memory
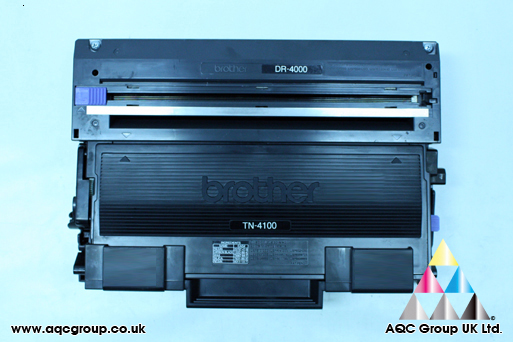
• Toner cartridge TN-4100 – Approx. 7500 @ 5% manufacturers stated pages
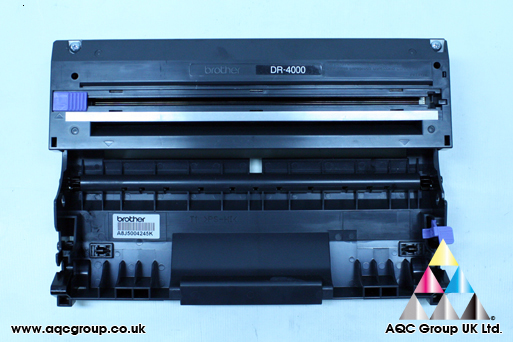
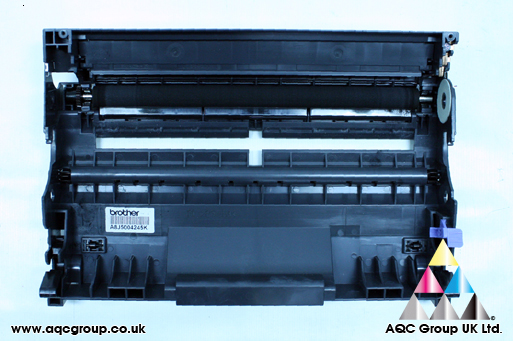
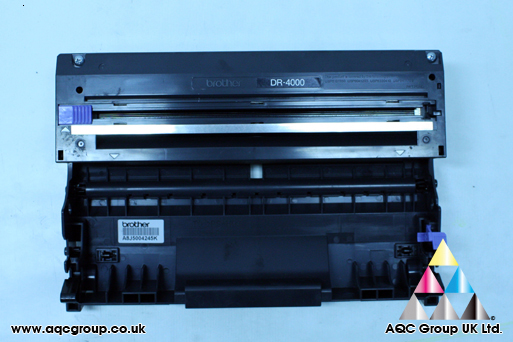
• Drum Unit DR4000 – Approx. 30,000 pages
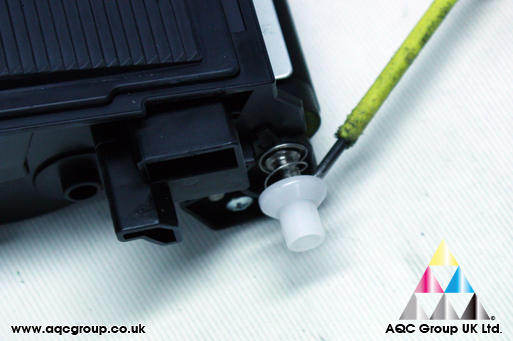
Step 1 – Remanufacturing the toner hopper TN-4100 • Using a flat blade screwdriver – leverage out the DVR end cap
• On the right hand side of the cartridge – remove one screw
• Using a flat blade screwdriver, gently prise off the end plate
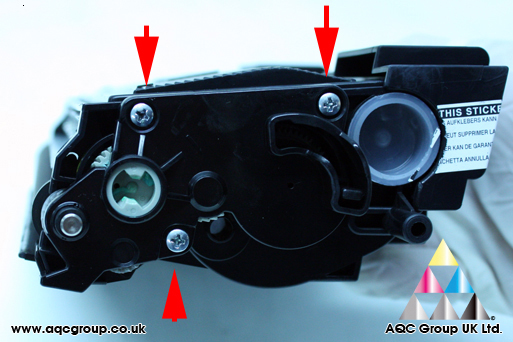
• On the left side of the cartridge take out 3 screws to remove the end plate
• Reset the Toner page counter
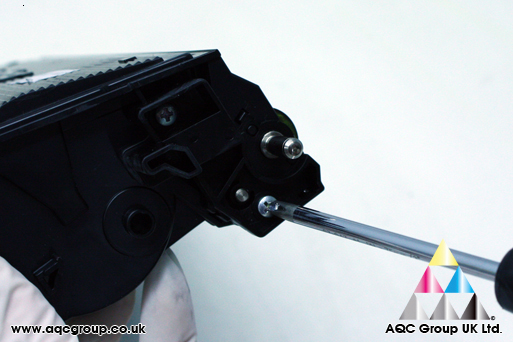
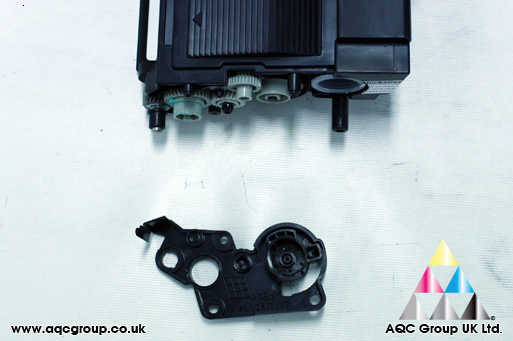
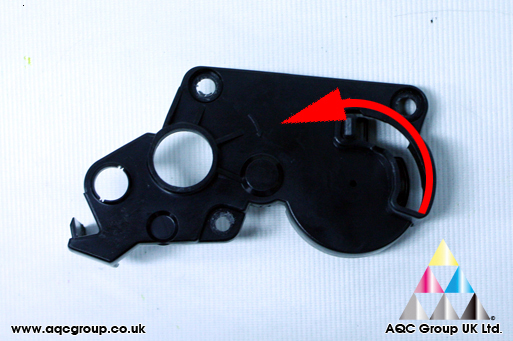
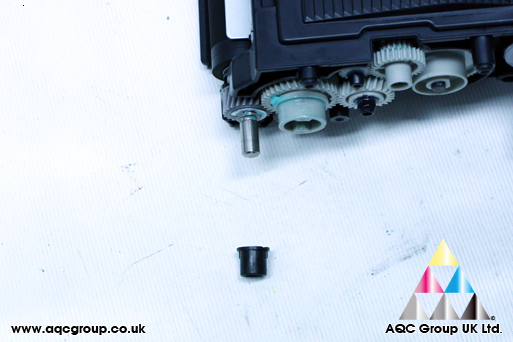
• On the gear side of the cartridge remove the black plastic DVR roller extender
• Using a small flat blade screwdriver gently lift out the white DVR retainer – it requires a small inset pin to be released to the right and then pushed in an upwards direction.
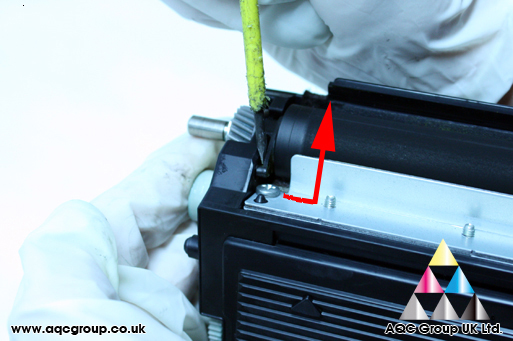
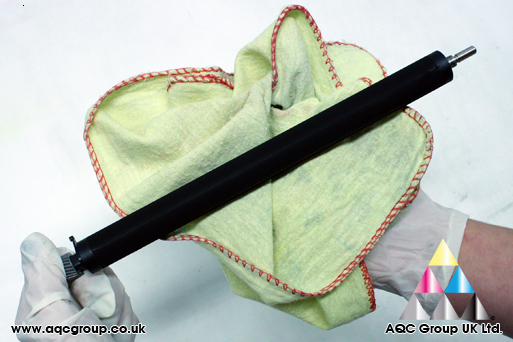
• The DVR roller should be gently lifted away from the cartridge
• We cleaned the DVR roller first with Iso-propanol alcohol, and then wash with water and allowed to dry
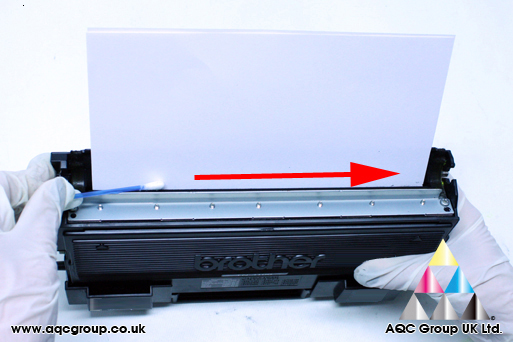
• In this guide we DO NOT remove the OEM doctor-blade – rather we clean it in place.
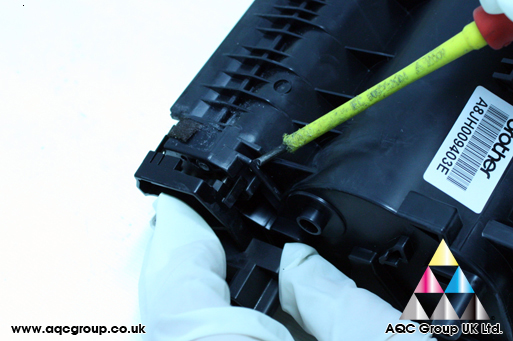
a. To do this, fold a piece of paper in half and slide into the cartridge in order to protect to foam adder roller.
b. Using a Q-Tip gently wipe the surface of the doctor-blade clean. We used a small amount of Iso-propanol.
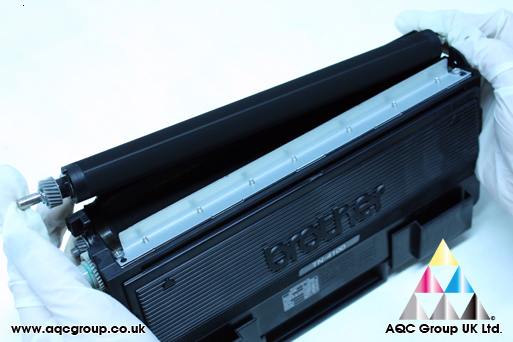
• Once all the cartridge components have been cleaned – replace back into the cartridge.
• Refilling with AQC Group UK compatible replacement Brother HL-6050 Toner – Using a large flat blade screwdriver gently squeeze between the cartridge bung and the toner hopper and lift out the bung.
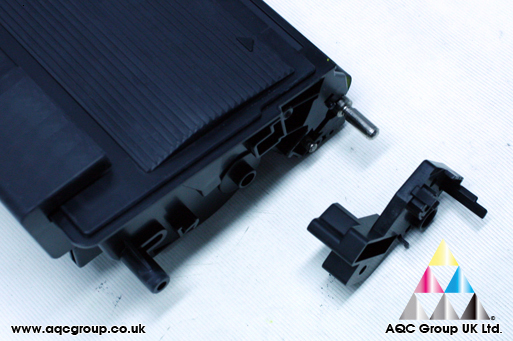
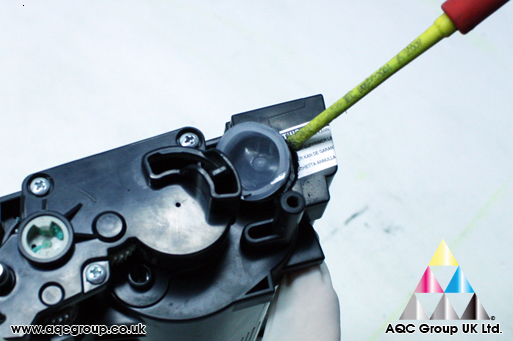
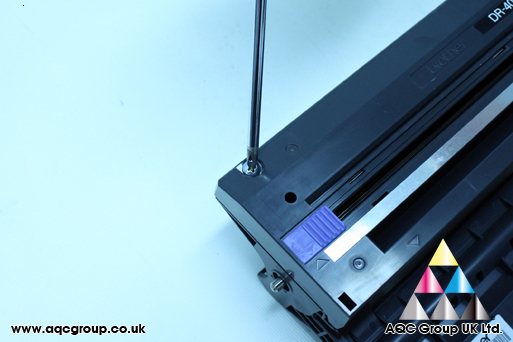
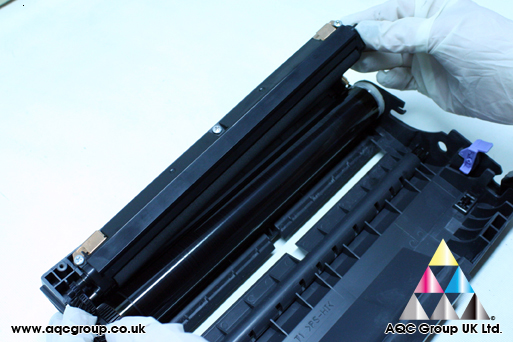
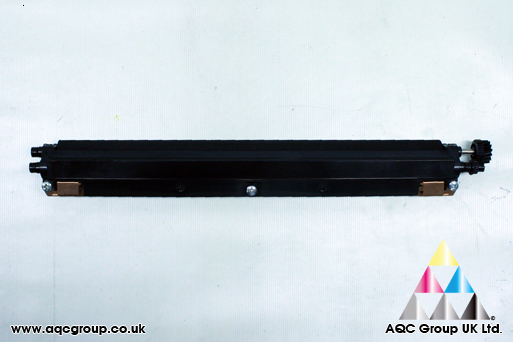
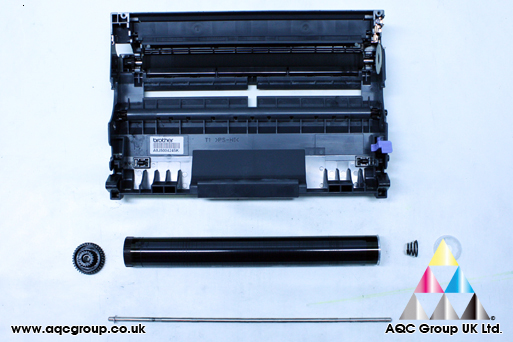
Step 2 – Remanufacturing the OPC Drum unit DR-4000 • Remove two screws and lift out the Corona wire assembly
• The Corona wire charges the OPC drum – the Corona wire can be contaminated with toner residue Clean the Corona wire gently with the provided blue cleaner by sliding side to side. Alternatively clean gently with compressed air.
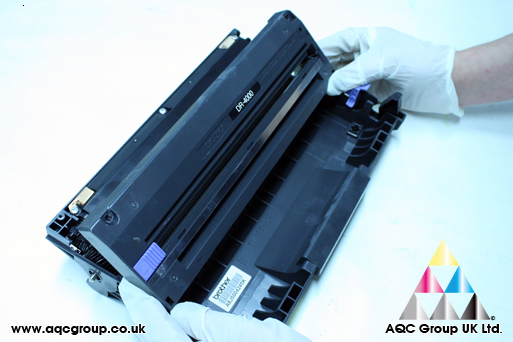
• Lift away the roller/waste section – this contains small amounts of waste toner collected from the foam roller. This unit can be cleaned.
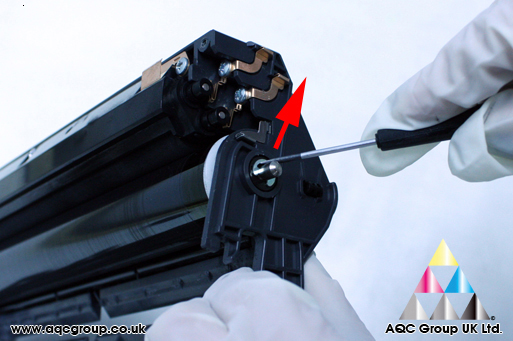
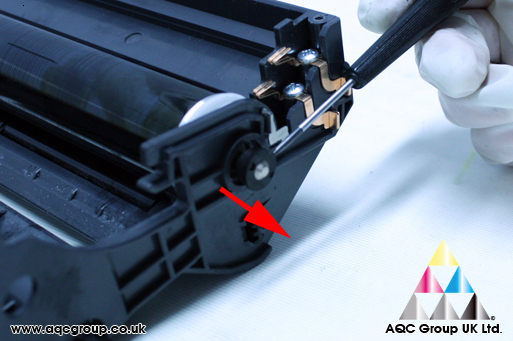
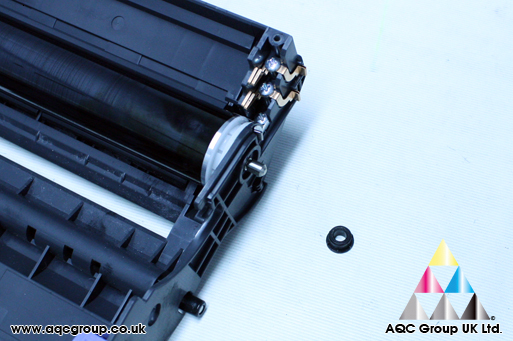
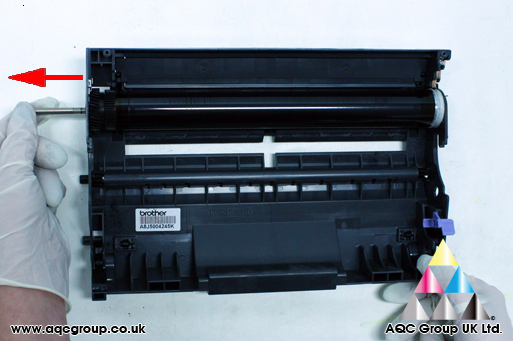
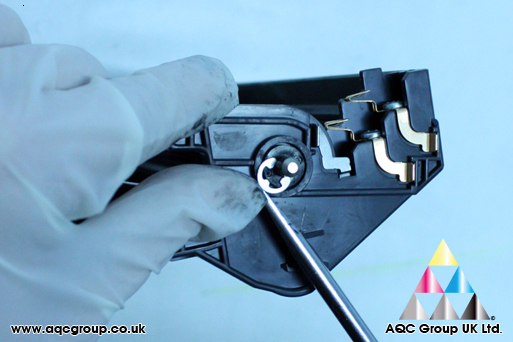
• OPC Drum removal - Using a small flat blade screwdriver gently lift out the small circlip
• Using a small flat blade screwdriver gently lift out the axle stabilizer
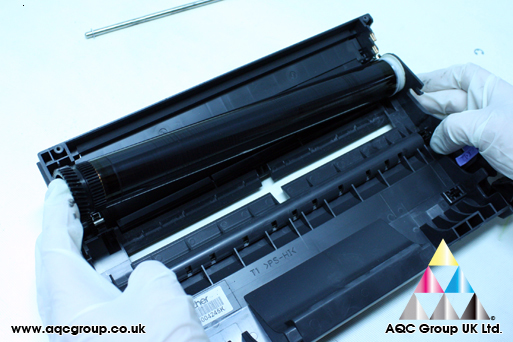
• The OPC unit will now lift out from its carriage position
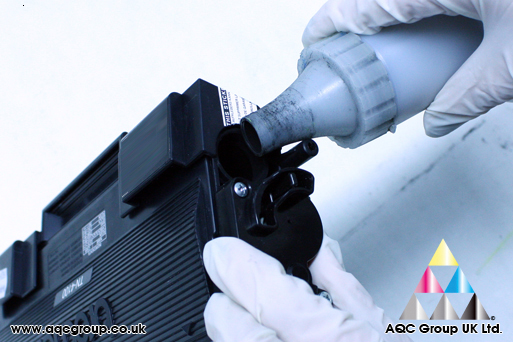
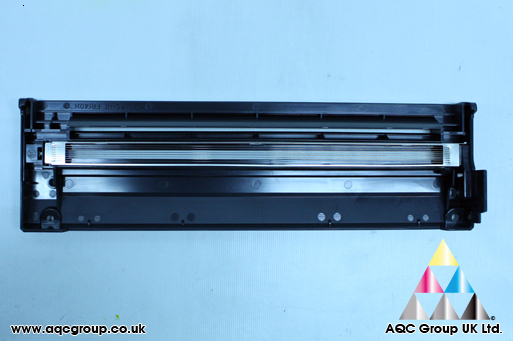
• Using either compressed air or vacuum – clean the carriage, transfer roller and drum cleaning brushes, also remove any paper dust.
• Replace all components
Download this guide in .PDF format
Here